
Once you've integrated your RightMessage account with Bento, you'll be able to use us to capture new subscribers, segment your Bento contacts, and personalize your website with Bento tags and custom fields.
In this guide, we cover everything you need to know about segmenting and personalizing with Bento + RightMessage.
To get access to our new "V2" Bento integration (which we recommend), contact support and we'll add this to your account. It's much more feature rich than the legacy Bento integration, and is just about to roll out of beta.
Linking RightMessage with Bento
To create a link between RightMessage and Bento, you'll need to add your Bento API Key and Site UUID to your RightMessage account.
Step 1: Find your API Key and Site UUID
First, log in to your Bento account and navigate to the API settings section. You'll need to locate your API Key and Site UUID which are required for the integration.
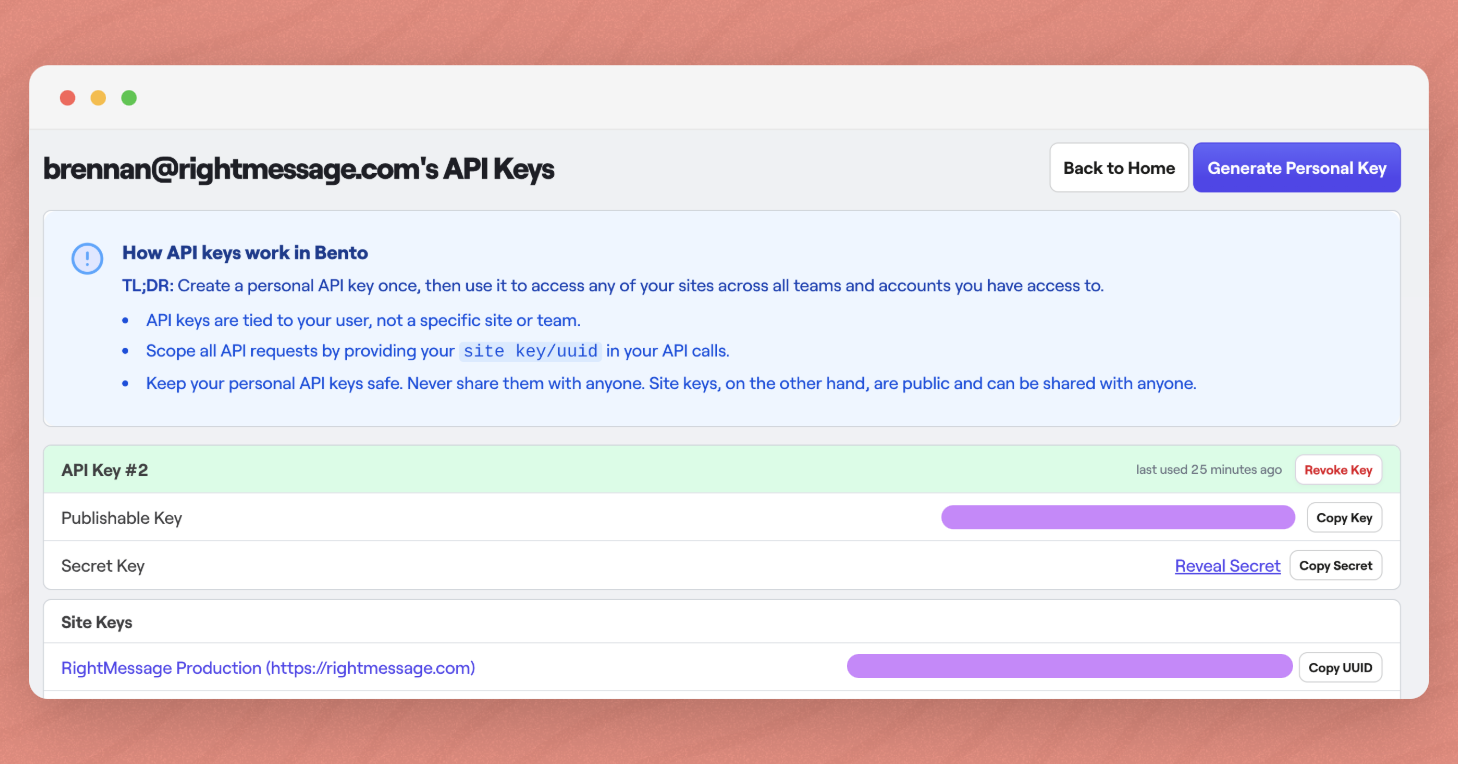
Head over to your Private API keys area in Bento (you can find this by going to your "Teams Home" dashboard)
Step 2: Paste your Key and UUID into the RightMessage integration area
In RightMessage, click on 'Integration' on the left, then choose Bento from the list of available integrations.
Paste in your API Key and Site UUID into the respective fields and click Connect to Bento.
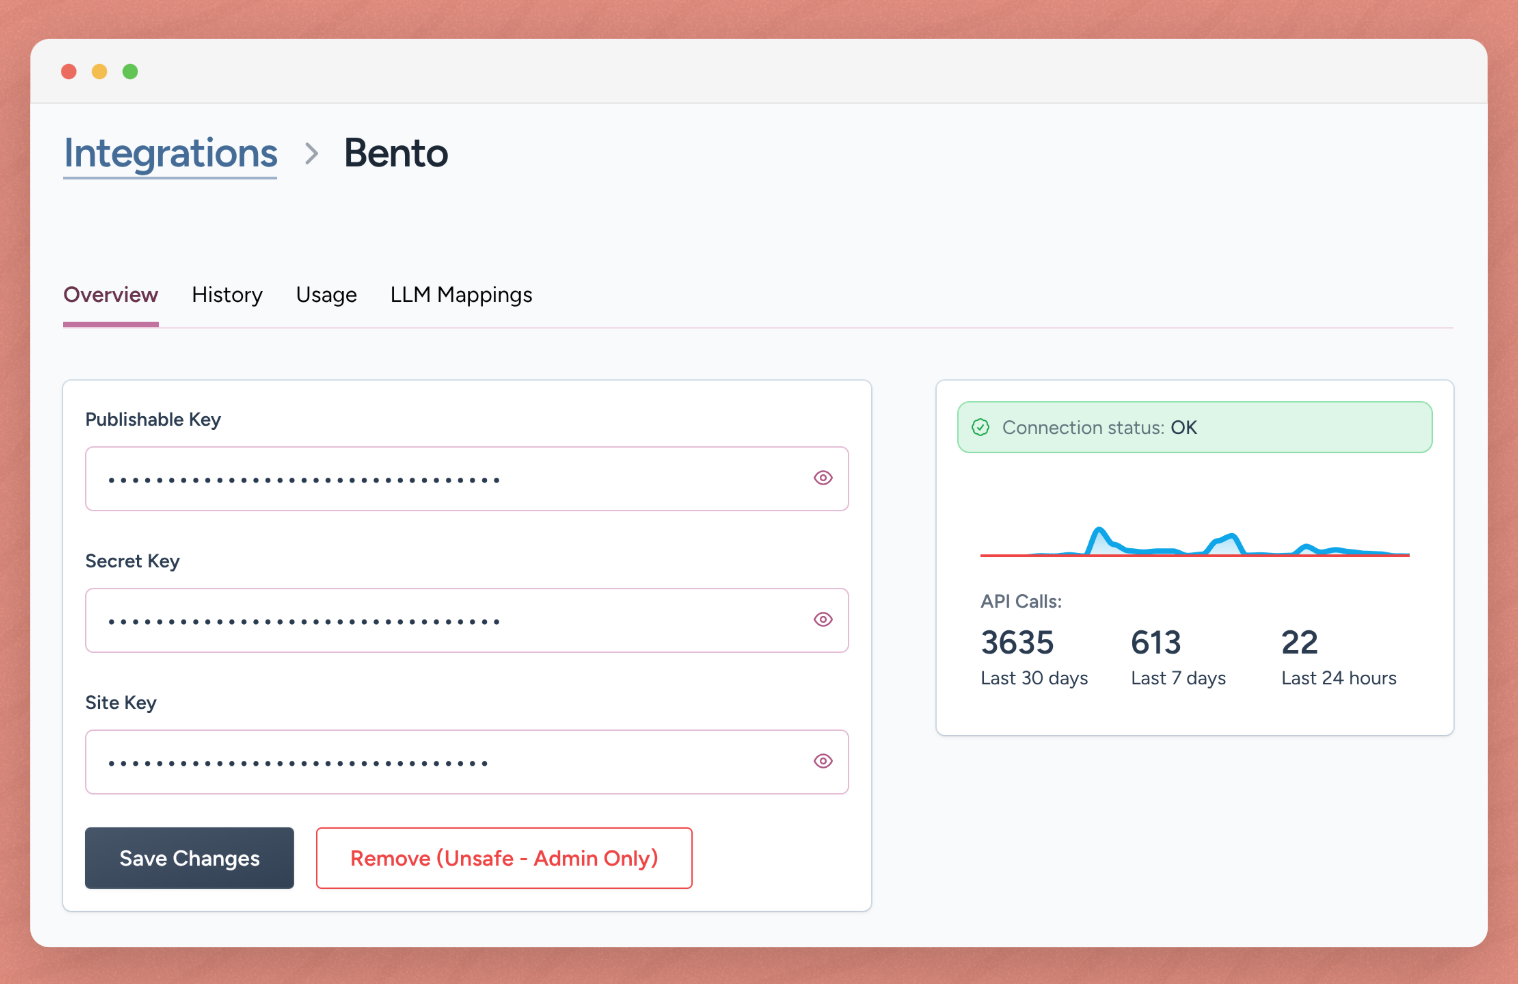
That's it! RightMessage will now be connected to your Bento account.
Identifying Bento subscribers on your website
Our Bento integration expects that you're using their Javascript snippet code and that it's been added to your website.
You can find details on setting it up here: https://bentonow.com/docs/bento-js-sdk
RightMessage will proxy through the Bento JS code to pull information about the visitor, segment them using the data RightMessage collects, and more.
Identifying when a 3rd party form is submitted
If you're having people opt-in using form or landing page that isn't managed by either Bento or RightMessage, then you'll need to make sure that after someone opts-in to your list that you're passing along data about who just joined in the redirect URL.
The best way to do this is to simply pass the email address that someone used to opt-in to the redirect URL, with the email query parameter.
If you're sending people to yoursite.com/welcome then you'd want to redirect your form's redirect URL to be: yoursite.com/welcome?email=<their email address>
How this is done will depend on the form tool you're using.
Some make it pretty trivial, but unfortunately some form tools do NOT allow you to pass dynamic content when redirecting.
As long as the RightMessage script is also included on the page you're redirecting to, the identification / reconciliation of the new subscriber will work correctly.
The Bento data we can use to segment website visitors
When a visitor is back on your website, RightMessage has immediate access to:
Their list of tags
Their custom fields
Check out our sections on segmentation, website personalization, and Flows for guidance on how to use this data.
Outputting custom fields (like someone's first name) on your website
With RightMessage, you can output known data (like custom fields) directly to your website. In our guide to adding contextual data and merge tags, we cover how to do this. But below is a bit of Bento-specific context.
To include a Bento custom field value within a text personalization, add: {{ bento.customFields.favorite_color }}, replacing favorite_color with your custom field of choice. (This field should not have any spaces. Either include underscores, your_favorite_color, or leave it as a single word, industry.)
To output someone's email address: {{ bento.email }}
Pro Tip: After setting up your Bento integration, test it by sending yourself a Bento email with a link to your website and verify that RightMessage correctly identifies you as a subscriber in the Test Segmentation panel.