Manually selecting an element to personalize
You may come across an issue where you are unable to select an element in the campaign editing area using the built-in highlight feature.
It is likely the element you want to personalize is obstructed by other elements sitting over the top of it - such as a background image showing under your main navigation or other ‘above the fold’ elements.
In these cases you would need to manually select the element using the ‘Affected Elements’ options of the personalization editing tool.
In this article we will show you how to locate an element using your browser ‘Development Tools’, and add the resulting selector in the personalization editing tools.
Why an element is not able to be selected in the campaign editing area
You may come across an instance where you are not able to select an element using the highlight tools in the campaign editing area.
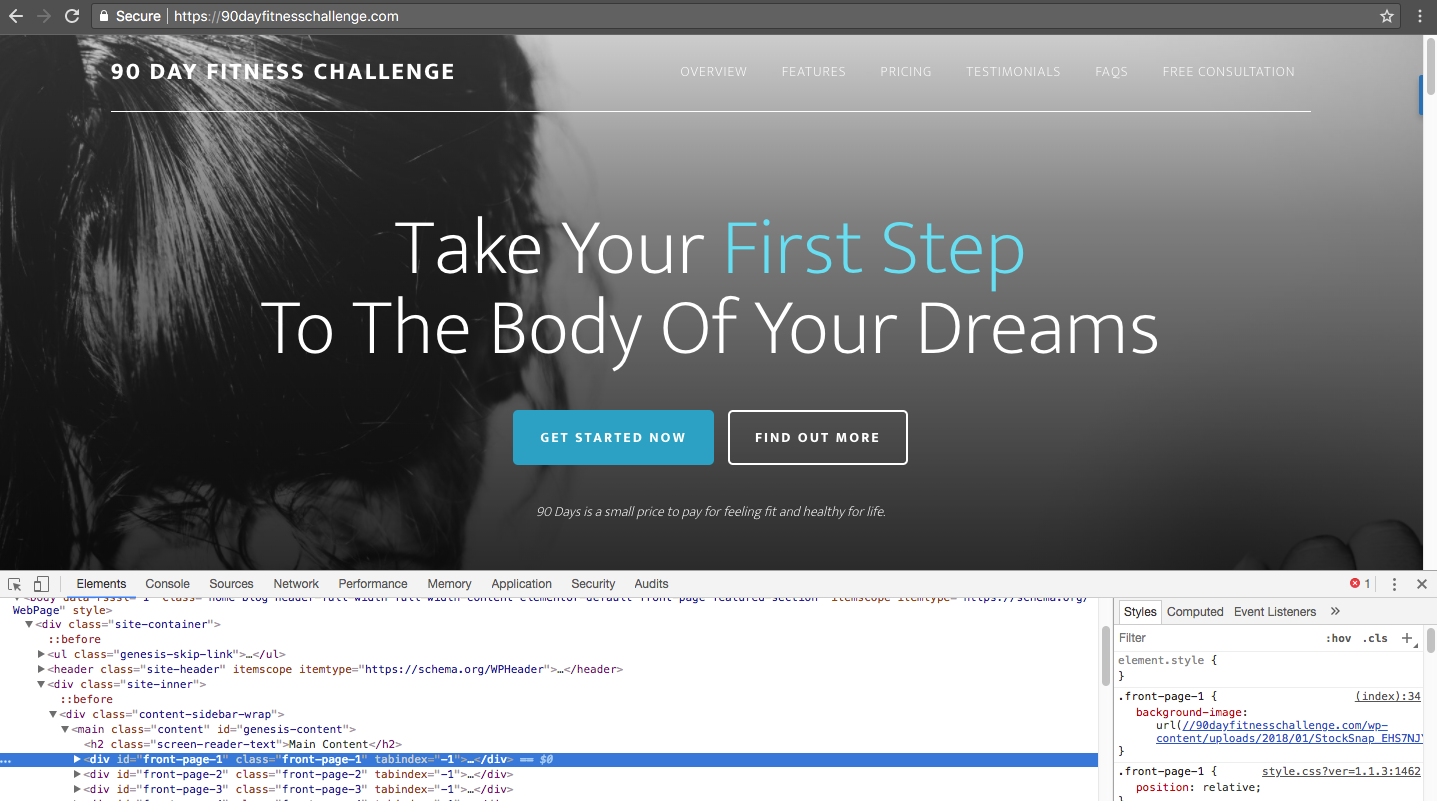
For the below example, the main background image is not able to be selected in order to change the image for different segments.
The reason this is happening is because the website title area, main menu and the above-the-fold headline area are sitting ‘on top’ of the element where the background image is located.
To select the background image area, we will need to locate the ‘selector’ within the structure of the website and use the selector in the personalization editing tool.
Using your browser development tools or page inspector to locate an element’s ‘selector’
To locate the ‘selector’, browsers come with ‘Development’ or a ‘Page Inspector’ tools that allow you to examine the structure of a website’s page.
Open your website in a new window or tab. To open the development or page inspector tool, right click on the element you want to personalize. Click ‘Inspect’ in the options available.

A window pane will open at the bottom of the browser. This pane will display the structure and ‘Styles’ of the page.
Hovering over an element in the left side of the pane will highlight an element on the page.
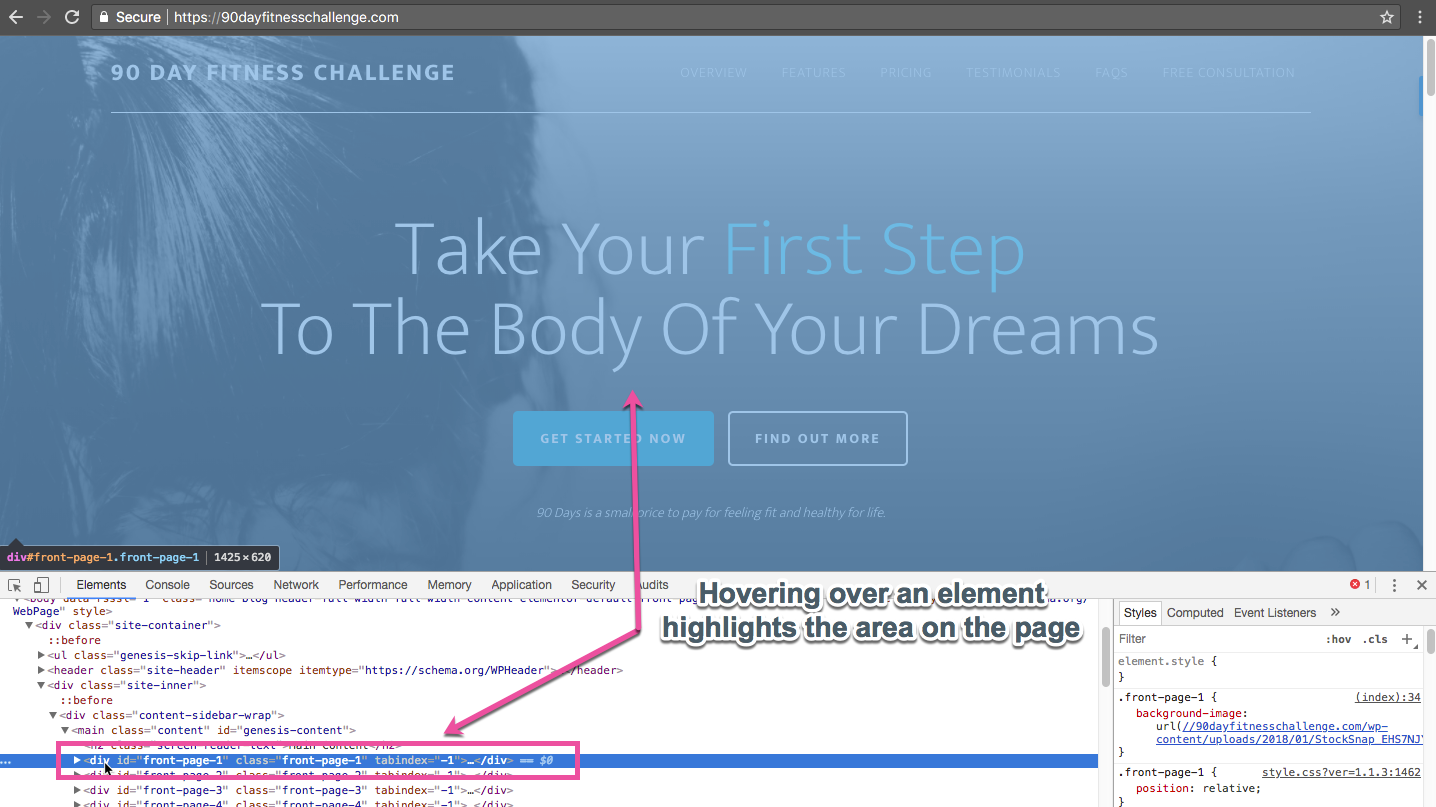
On the right side of the pane, note the ‘Styles’ that are being used to change the appearance of the element highlighted.
Once you have located the style that controls the appearance of the element, click on the style and copy the ‘selector’ to your clipboard.

Manually adding a selector to the campaign editor
In the campaign editor, we will need to display the personalization editing tool in order to add the selector located and copied from the step above.
To display the personalization editing tool, highlight and click on any element on the page. Select the Target tab in the editor and add the selector you found in the previous step.
